

‘Remind me that the most fertile lands were built by the fires of volcanoes.’
―
Tungurahua volcano is situated in Sangay National Park, and makes up the backdrop of Baños, which is a tourist hotspot in Ecuador. This city is the perfect base for hikes and other outdoor activities, with its luscious green surrounds and snow capped peaks; namely the active Tungurahua. At 5023m, it is quite a hike, which in my opinion requires preparation and experience. The Tungurahua hike involves an extremely steep ascent, the potential need for gear, acclimatisation, and ability to track the trail, which is difficult to follow at times.
the Tungurahua hike
height: 5023m
time: 2 days to the peak
elevation gain: 2200m-3200m in total
start: baños or pondoa (recommended)
In all honesty, we researched a little but did not realise how difficult the Tungurahua hike would be. I merrily thought of the many other hikes I have done, including Kilimajaro. Whilst it is similar in the sense that it is a night ascent, and to a similar altitude, the difference is it is only over two days, and we did not have a guide.
It dawned on me that we had underestimated the hike when seeing many return from the peak with ice axes. Plus, many commented that hiking Tungurahua was harder than hiking the higher Cotopaxi. This is due to the lack of switchbacks, and scrambling at times on the trail. I thought back to the comments I read that said it was ‘easy’ and groaned. Do not always trust the internet. But a guide we spoke to did not seem surprised we were hiking Tungurahua solo. Plus, luckily for us, he offered to rent us two helmets and crampons (the posts we had read said gear was not ‘essential’). We decided to go ahead with it, and made it.
If you are interested in the Tungurahua hike without a guide, this post will hopefully be helpful for you. If you are unsure, you can also hike just day one to the Tungurahua Refugio (the mountain hut), which is a popular day hike. I have included a breakdown of both days below.
skip to essential information about hiking Tungurahua without a guide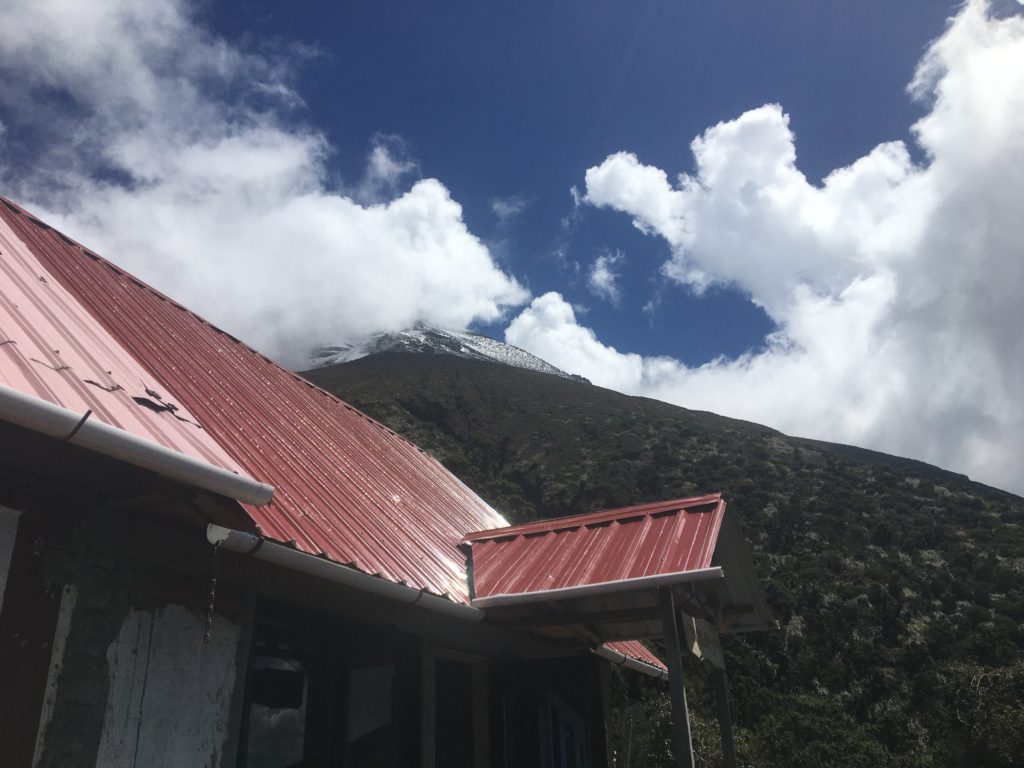
day one: to Tungurahua refugio
from baños: around 8.20km / 5-7 hours
from pondoa: 4km/ 3-4 hours
difficulty: moderate
If you have a car, you can park by the Sangay National Park office where you register for this hike. There is no fee to enter the park. The car was safe here overnight but we did take our valuables with us as a precaution. Alternatively you can take a taxi to start this hike or a small truck (camioneta). If neither of these options appeal, then you can walk the whole way from Baños, but be aware that this requires an early start, and is mainly along road. Personally I wanted to save my energy for the night ascent to Tungurahua peak. However if you still want to, check out this Wikiloc route from Baños. You can also follow the trail on the Maps.me app.
We just said we were going to the refugio after reading that park officials sometimes challenged those without a guide (after hiking to the top, I do not disagree with this). After a simple register, we started the hike. Note on Monday the office appeared to be closed, but the trail was open.
The hike from Pondoa to Tungurahua Refugio is well signposted, with a sign at each kilometre and a sign to show you where it begins (just past the office on the left). I am not sure how reliable the time estimations are though. Just take your time! There is only one way to go (up, up and up a little more), so you do not need a GPS this day.
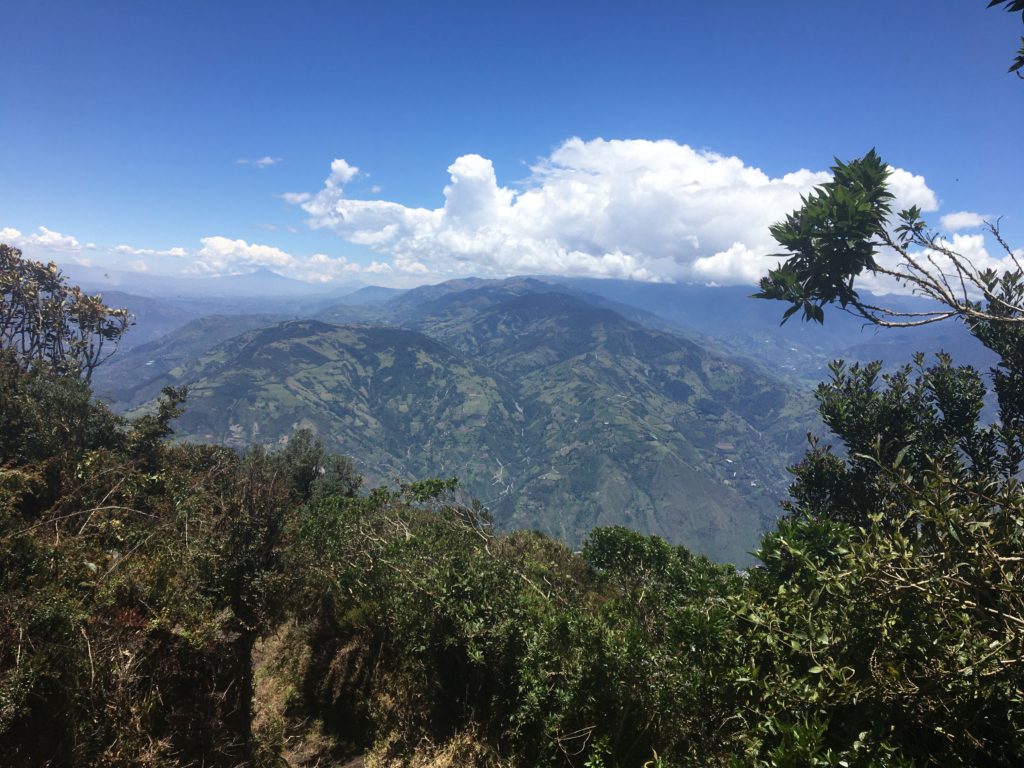
It took us 3.5 hours. Take your time as it is all uphill, and can be muddy. Plus it is at altitude with a 1000m elevation gain from Pondoa. It is mainly shaded by twisted trees and colourful flora, but there are also parts with views over Baños and the surrounding mountains. There is no water access along the trail so take enough to make it to the refugio (minimum 1.5 litres).
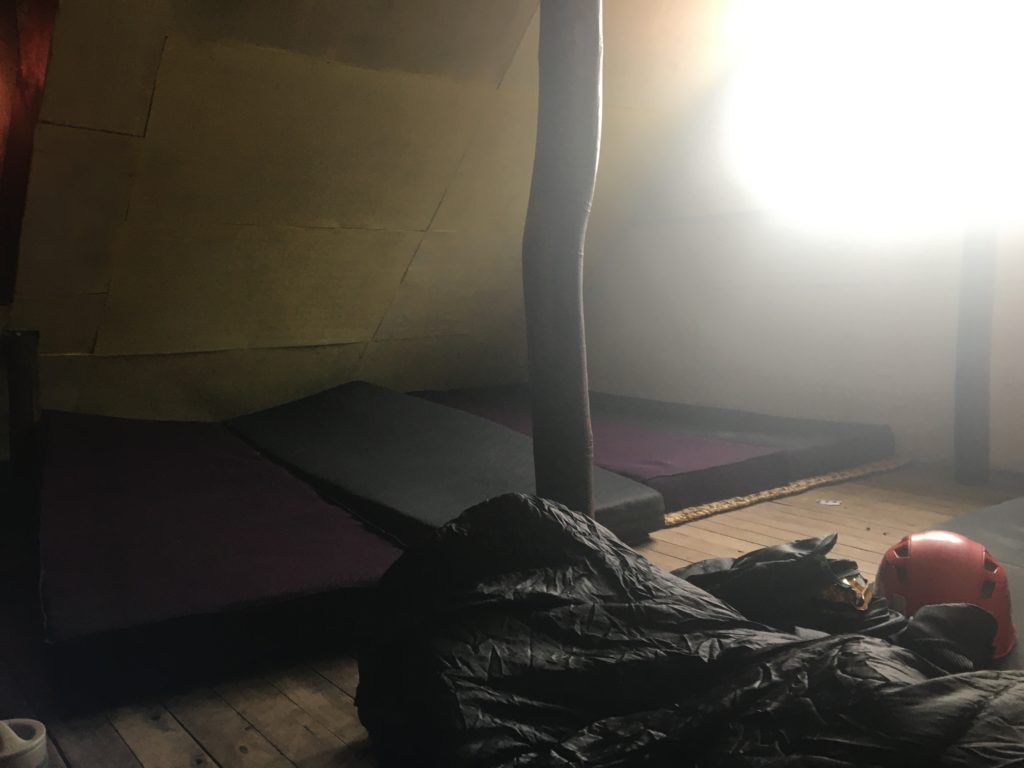
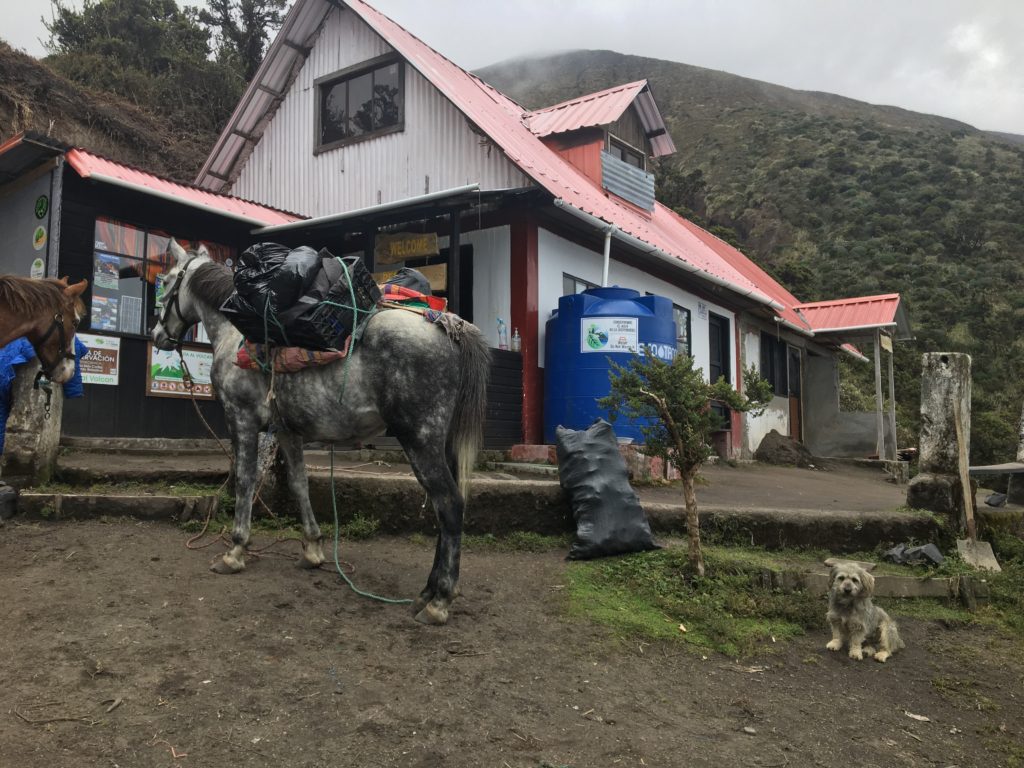
Once you reach the refugio, take some time to enjoy the views, including of Tungurahua peak on a clear day. During the week the refugio is open for use (there’s a well equipped kitchen, toilet and drinking water). Over the weekend there is a staff member present, which for us was Gustavo. He was so kind and helpful, lending me his head torch (mine was being temperamental), and he offers gear rental. Drinks such as coffee, energy sachets, and snacks and soup were also avaliable for purchase.
Either return back to Pondoa/ Baños to make this a day hike, or stay the night for acclimatisation then return, or stay the night to hike to Tungurahua peak.
top tips for the tungurahua hike day one:
- On Saturdays there is often a group tour hike to Tungurahua. Therefore it is useful to reserve a spot to sleep on the weekends. Whatsapp: 0987173573 / 0983914291
- Do not depend on being able to rent gear at the refugio. Try to reserve in advance via whatsapp or rent gear in Baños.
- You need a sleeping bag. It was warm upstairs and mats are provided. There is also a room downstairs to sleep.
- Take a smaller bag to hike to the peak, and leave your main bag behind. I left mine upstairs but there is also space downstairs. i took valuables with me.
- Go to bed early! You need all the energy you can get.
tips for hiking SOLO AS A WOMAN
DAY 2: TUNGURahUA REFUGIO TO TUNGURAhua PEAK (AND BACK)
DISTANCE: Around 6.2 KM UP from the refugio.
DIFFICULTY: HARD
time: 5-7 hours up, 2-4 down (roughly)
We left at 2.30am, after trying to stomach something to eat, and drinking lots of tea. There was a group hiking Tungurahua with a guide which made the ascent easier, as we followed the trail of headlights. However, after leaving behind the tree line, marked with a stone marker, and crumbling old entrance to the volcano, the trail became harder to follow. Why? Because it is straight up, dark, and over time the way has widened. Plus it is steep. And I mean steep. Switchbacks are almost non-existent here. Due to the loose scree during the middle section, it makes for a tougher climb, as you scramble to keep balance. Plus, the soft sand (volcanic ash and loose rock) section, means you sink- a lot.
The tour group had rope, but this is not essential if you have hiking experience, hiking poles, and snow fall is not heavy. If you do not have much experience hiking, I seriously recommend a guide. Even after hiking multiple times up volcanos and peaks, and for multiple days in different weather conditions, I found this hike challenging. You are not only trying to acclimatise, but focus on keeping balance, tracking the way and tackling a steep ascent/descent. The only other time I have hiked such a steep gradient was in Slovenia, when the trail actually had a rope along the rock to hold on to.
Crampons were needed once we hit the sanded final section. This was because there was a moderate amount of snow. The tour group actually turned around because they did not have crampons (tip: go with a recommended guide, who is certified and will provide gear). For the upper section I found crampons helpful in general, as there was not too much rock and they prevented us from slipping on the way down. I also found the helmet helpful, due to how steep the trail is and because of the risk of rockfall.
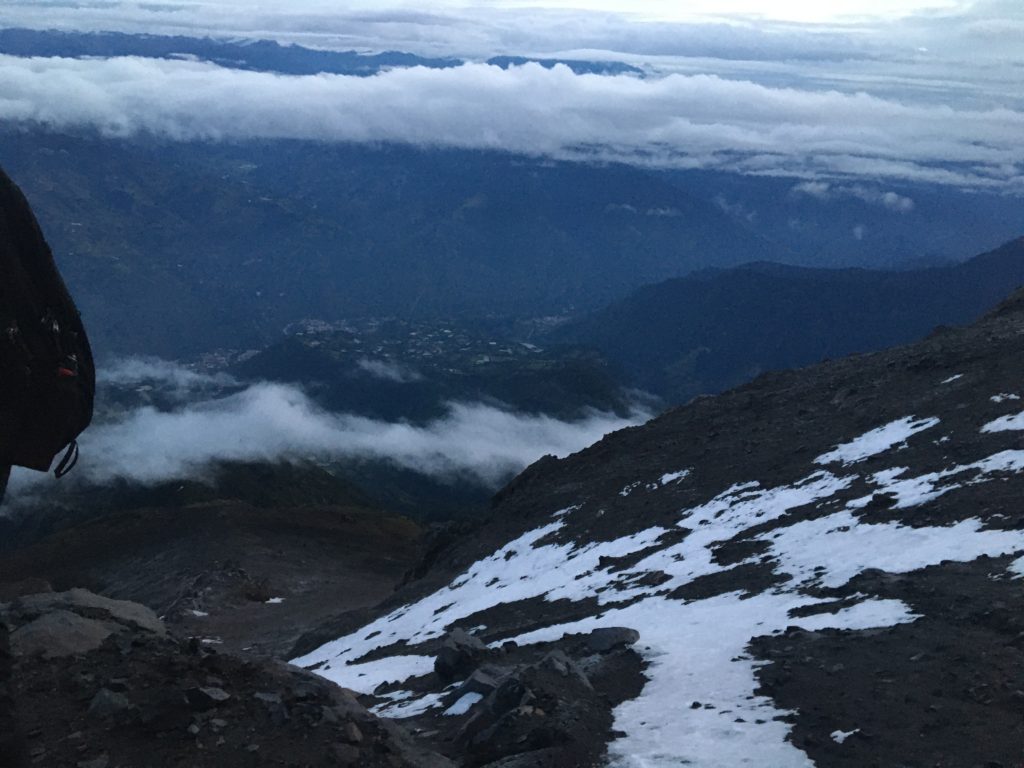
Once you pass the memorial cross, the trail again becomes tricky to follow, especially if it has snowed. The sun was rising at this point and we had incredible views of the surrounding volcanos such as Cotopaxi and Chimbarazo. Take your time, and take care. Someone commented that the final section involved some scrambling. I am not sure if we went slightly off course but we did not find this part involved much scrambling at all (maybe we were too focused on keeping to the trail). Also be sure to check out the hot rocks near the top. This warmed us up as by this point the clouds had made their way in, the wind picked up and temperatures were below freezing.
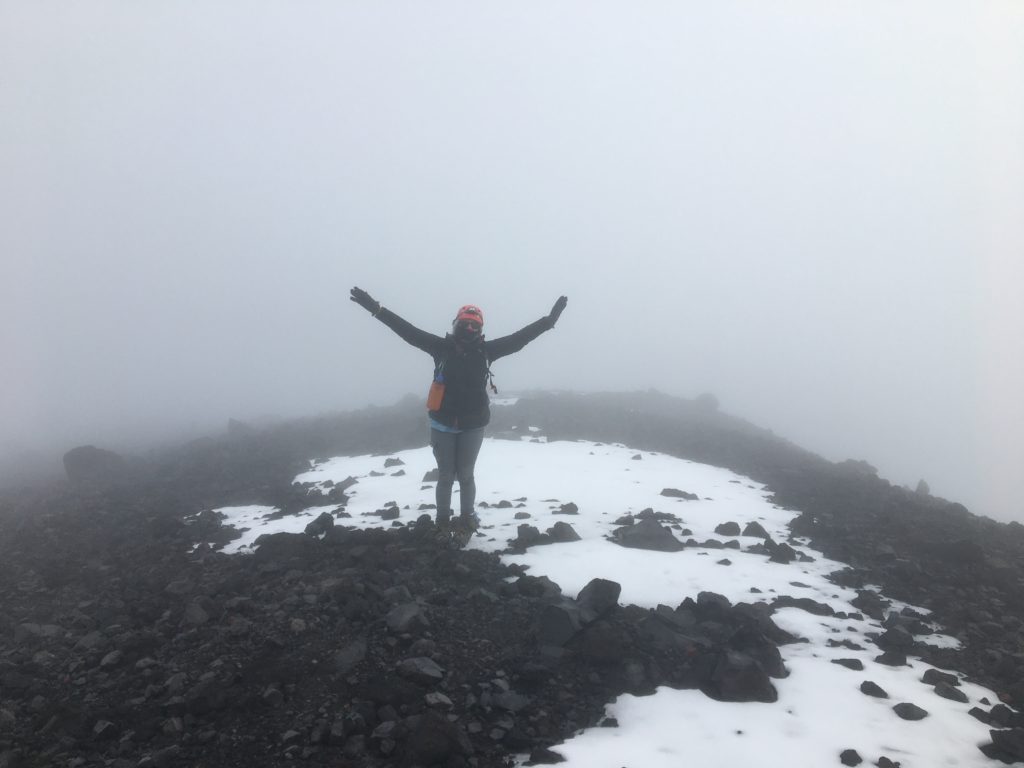
Frost covered everything. We quickly took some summit photos (no views, just cloud and cold), had a quick snack then started the descent. Aim to head back from the peak between 8:00am-8.30am because of risk of avalanche, and cloud cover as time goes on.
top tips for the tungurahua hike day two:
- Drink a lot of water and tea before leaving. Once hiking you may feel too cold to drink, or to stop and eat for that matter. Have a snack handy in your pocket.
- Wrap up warm. And I mean warm. It gets cold quick. Do not be like me and attempt to put on too-small waterproof trousers whilst clinging to a rock halfway up the mountain. See essential gear below.
- Take a portable charger with you and keep electronics warm, for example your phone in an inner pocket. Why? Because the cold can drain the battery. My phone drained from 50% in a matter of seconds when we took it out to take photos on the peak.
ACCLIMATISATION TIPS AND MY THOUGHTS ON DIAMOX
the descent from tungurahua volcano
The whole way up I fought with the question: How on earth will we get down? I told myself to focus on every step, and not get too confident, as I had to make it up there first.
Down, down and down a bit more. It is extremely steep, but we had to get down so we kept going. At times I slid down because it was easier. As mentioned crampons helped a lot in the upper section, but the mid section, which involves loose scree, was hardest. My hiking poles saved me a lot.
The cloud cover meant we had limited visibility to the point that GPS was essential. Maps.me or Wikilocs will help you keep to the trail. There are some markers but they are mainly sticks, and many had blown over. Do not depend on this and go slow, avoiding the sheer drops due to risk of slipping. You do not want to fall.
It took us roughly 3 hours to get back to the refugio. We ate some breakfast/ lunch then continued another 2 hours back to the car. The descent from Tungurahua refugio to Pondoa on average takes 1-1.5 hours. However I was so tired and my knee pain wanted to say hi, hence why it took longer.
top tips for descent
- Zig zag on descent to reduce stress on your knees, and ensure you retie your shoes tight to prevent bruised toenails. Hiking poles are a must unless you have excellent balancing skills.
- Travel insurance is essential! Mountain rescue is not common and you need to ensure your policy covers you to above 5000m. I usually go with TrueTraveller.
INFORMATION for HIKing TUNGUARGUA WITHOUT A GUIDE
- Weather: Whilst weather conditions are always unpredictable, December to March is considered the best for good views. However the day before we hiked (September), it was completely clear for those who reached the summit. Keep an eye on the mountain weather forecast, and check locally about mountain conditions before the hike.
Aim to reach the summit by 7am, and start descending by 8am before the sun gets stronger and melts the snow. Better to leave early to get to the summit. 2am is recommended. - Tunguargua Refugio cost: $10 at the time of writing. This includes drinking water, a sleeping mat in a shared room, toilet and cooking facilities (utensils provided!) During the week it is not staffed.
You need to bring food and your own sleeping bag. There is no electricity but there are candles and a solar powered light for cooking.
Whatsapp: 0987173573 / 0983914291. Try to reserve on the weekends and you can enquire about gear availability. - Rental gear: Crampons, and a helmet. An ice axe can also be useful if you know how to use it and there is a lot of snow. It cost us $10 dollars per person to rent crampons and a helmet. Try to rent in advance in case all gear at the refugio is already hired. Gaiters are helpful to keep loose dirt out, and snow.
Sometimes rubber boots may be useful especially if there has been a lot of rain.
If you opt to go with a tour a rope and harness may also be provided. - Random essential items: – Small bag to hike with. – GPS such as the Maps.me app (but have a way to charge your phone if it runs out of battery). – A head torch. – Hiking poles. – Basic first aid kit. – Water bottles (at least 1.5 litres), ideally one that can hold hot water. – Portable charger.
- Clothes: – Buff (ideally a full face one). -Sunscreen. -Sunglasses. – Warm hat. – Base layers such as thermal leggings or merino. – Trousers. – A windproof/waterproof jacket. – Fleece. – Warm gloves. – Warm socks.
Layers layers layers.
And proper hiking shoes. Not trainers. - Food: We took some instant pesto pasta packets for dinner which we bought in the supermarket. Remember everything takes longer to boil at altitude so you want something quick and light to carry.
High calorie snacks such as protein bars and nuts what are easy to eat are also handy.
We took wraps for lunches because they are lightweight, and pre-portioned oats for breakfast. And coffee of course.
We purchased some energy sachets from the refugio to put in our drinks. - Wikiloc Routes for the Tungurahua hike:
– From Baños to the refugio.
– From the refugio to Tungurahua Peak (new route).
facts about tungurahua:
– tungurahua is also known as ‘throat of fire’ and ‘the black giant’.
– tungurahua volcano had a long-term eruption in 1995, which meant baños was temporarily evacuated.
– The last significant eruption was in 2014.
– it is a stratovolcano (a composite volcano made up of many layers)
what was your experience of the Tungurahua hike? Comment your experiences below! and let me know if you have any questions.
MORE SOUTH AMERICA POSTS


2 Comments
Pingback: Hiking in Baños: The Sendero De los Contrabandistas - travelface
Pingback: Best Things to Do in Baños, Ecuador - travelface